
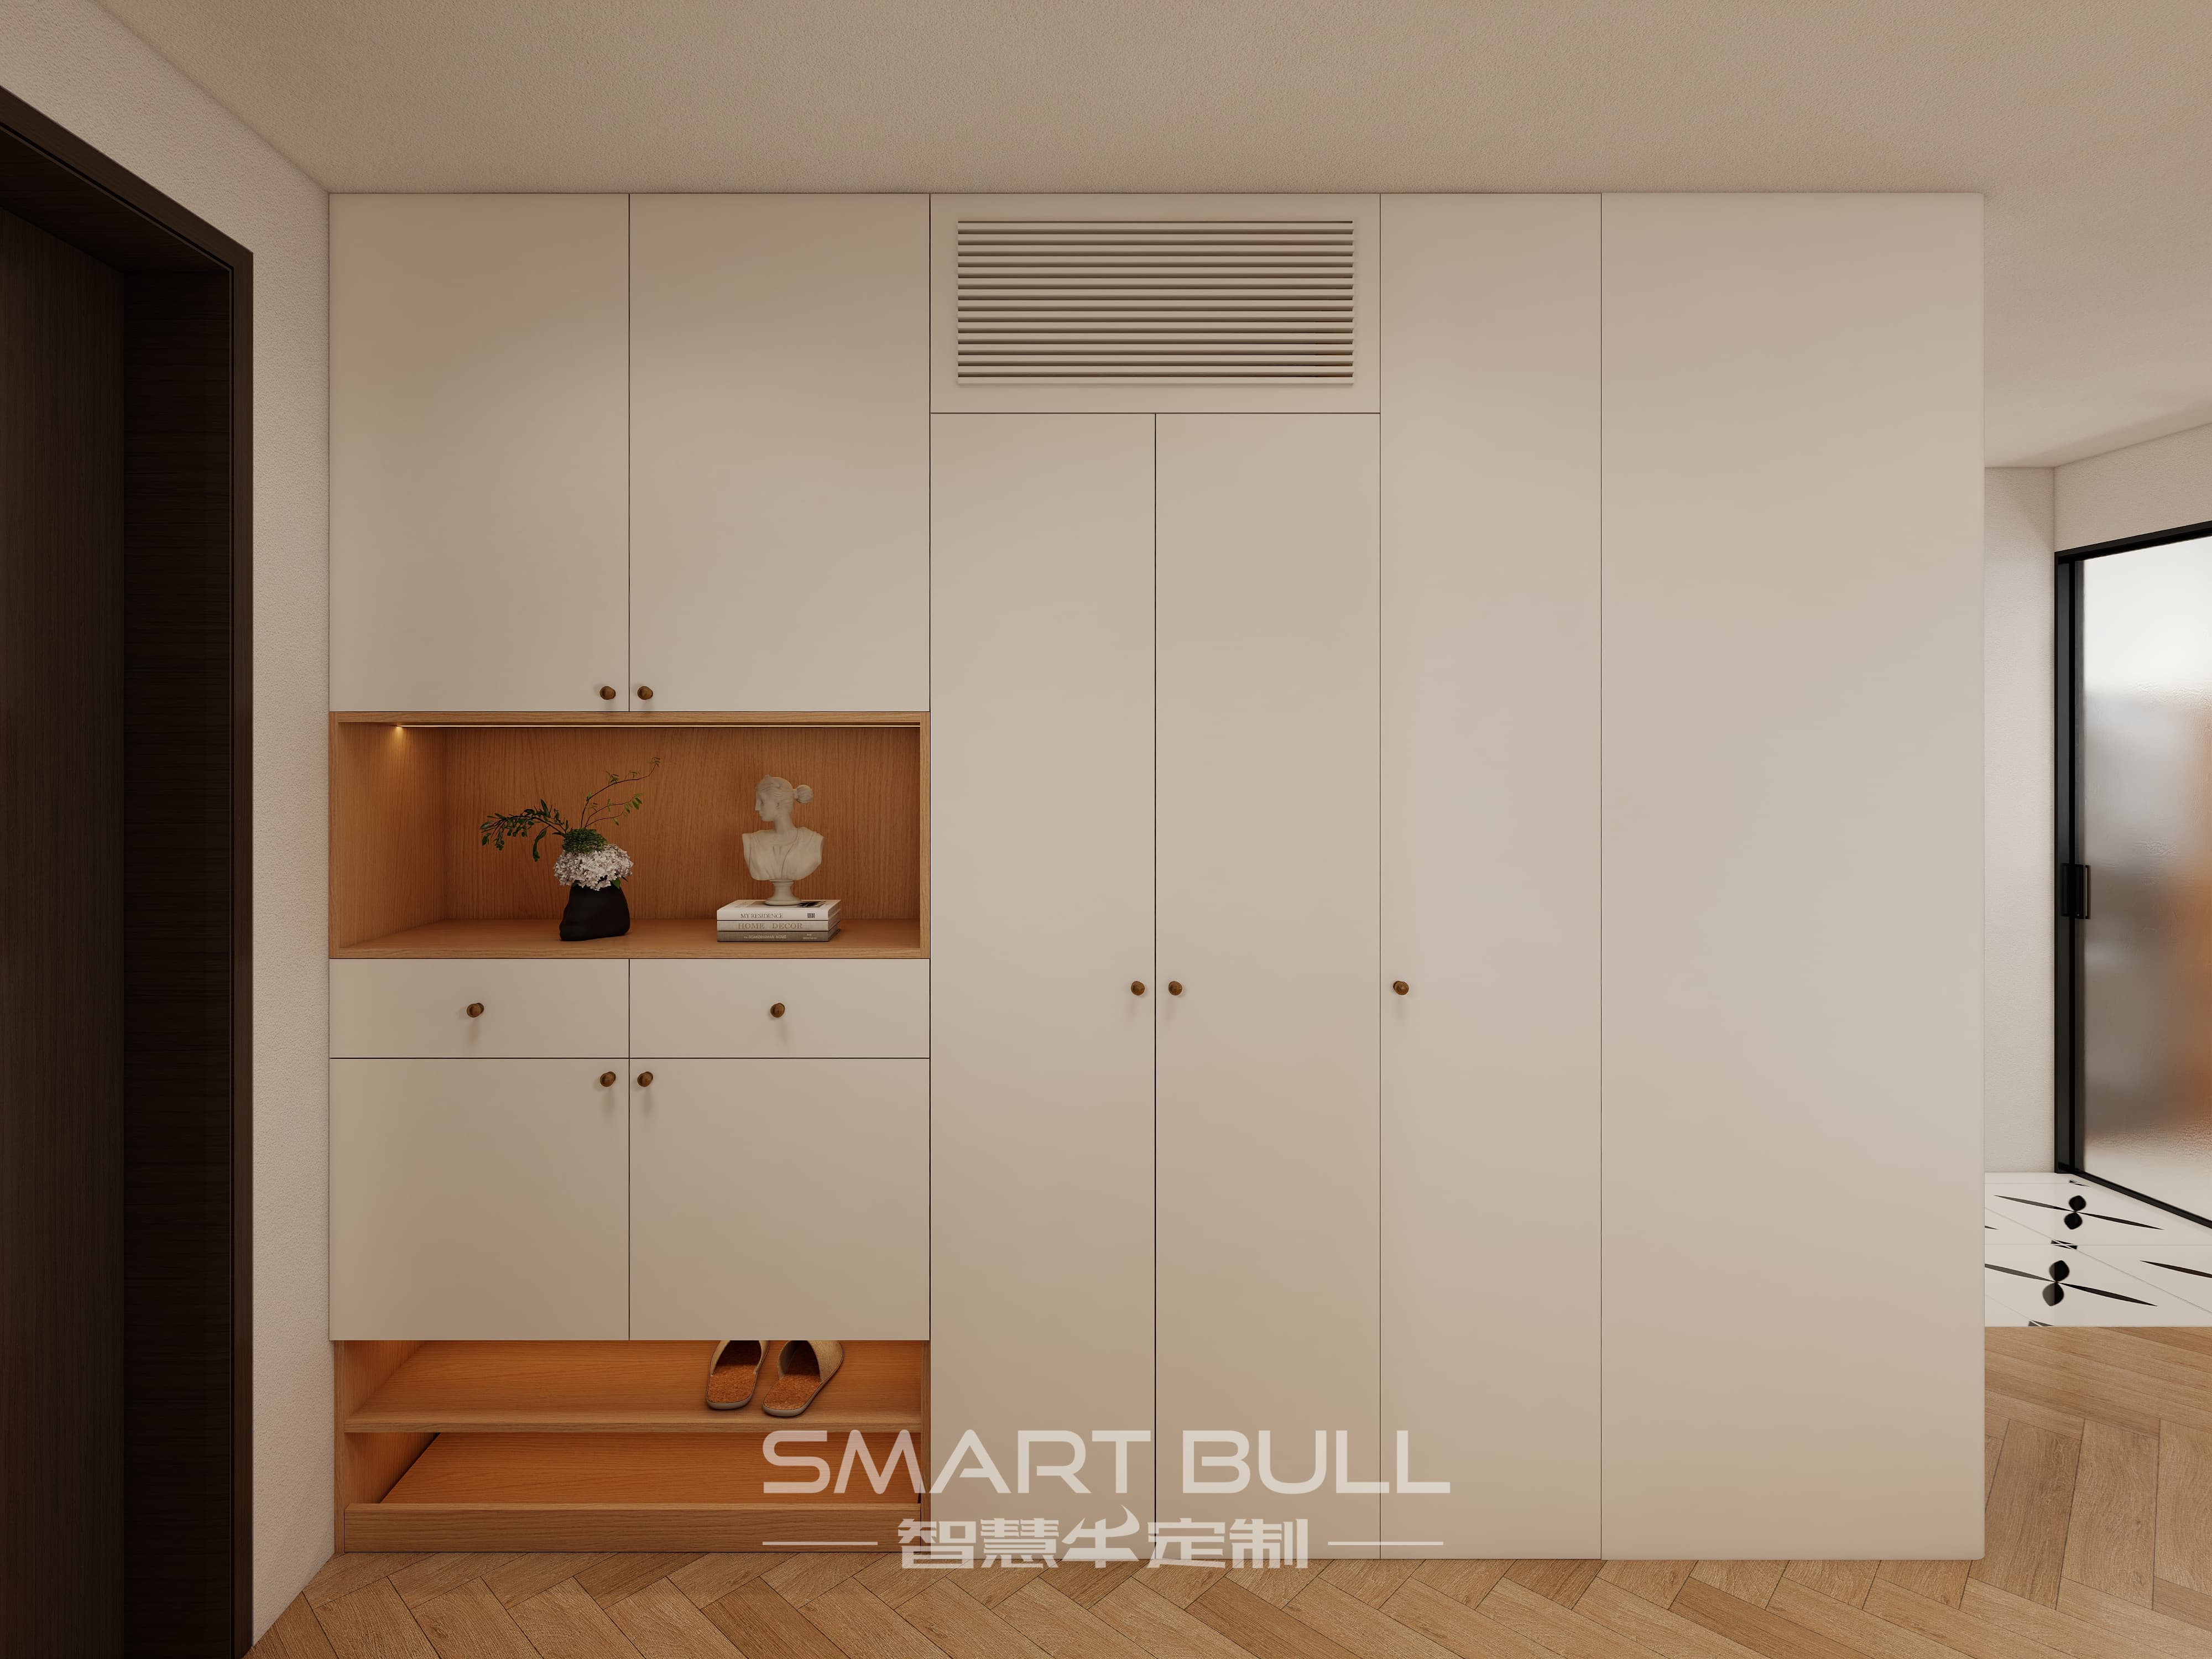
A breathable shoe cabinet is the single most effective defence against mould in Singapore's climate, because the cabinet itself decides whether the dampness your shoes carry indoors has somewhere to go. Most days here sit at 70 to 80 per cent relative humidity, and a pair worn through a rain shower or a sweaty commute comes home with moisture trapped in the sole and lining. Shove it into a sealed box and that moisture stays pinned against the leather until the next time the door opens — which is exactly how the musty foyer smell, the softened sole and the grey bloom along the stitching begin. This guide explains how a carpenter actually builds a shoe cabinet that breathes, from the louvre cut to the floor gap, and how to size it for an HDB or condo entrance without breaking the corridor rules.
Why a Sealed Shoe Cabinet Turns Into a Mould Box in Singapore
The trouble is not the shoes, it is the still air around them. In a temperate country a closed cabinet is a comfort feature; in Singapore it is a construction flaw waiting to show. A returned pair is usually damp at the sole and the insole, and with no airflow that dampness has nowhere to travel. Warm plus moist is the exact condition bacteria and mould like, so the problems stack up quietly: odour first, then the leather bond loosening, then fabric uppers spotting with mould along the seams.
The HDB foyer makes it worse. Most entrances are a short corridor or a recess with no window and weak cross-ventilation, so the cabinet is the only thing between the shoes and a pocket of trapped, humid air. The cabinet's build, not its position, determines whether that air moves or stalls. A unit with real ventilation keeps the interior a few degrees drier and a lot less stale than one that merely looks vented in a photo.
What "Breathable" Actually Means: Inlet, Outlet and a Path
A gap is not the same as ventilation, and this is where cheap builds fool people. A cabinet can show a row of slots on the door and still trap moisture if the slots sit on a solid panel with no real opening, or if the shelves inside block the air at every level. True breathability needs three things working together: an inlet for air to enter, an outlet for the moisture-laden air to leave, and a clear path between them that reaches the full depth of every shelf.
Think of it as a slow chimney. Cool, drier air enters low, warms as it meets the shoes, lifts the humidity with it, and exits high. If any one of those steps is missing — no low opening, no high opening, or shelves packed so tight the air cannot rise — the cabinet behaves like a closed box regardless of how many decorative holes are drilled in the front. When you brief the carpenter, ask specifically whether each vent is open to the interior, not just scored onto the surface.
Slatted Doors, Perforated Backs and the 1 to 2 cm Gap That Does the Work
The door is where most of the day's airflow happens, because that is when the cabinet is closed and the shoes are inside it. Louvred or slatted door panels let passive air move even while shut, so specify real slats with an opening behind them rather than a printed louvre look. A perforated back panel or perforated side panels give the air its exit, and a small gap of 1 to 2 centimetres at the top and the bottom of the carcase creates the natural current that pulls air through.
The raised base is the part homeowners forget. Lifting the cabinet 10 to 15 centimetres off the floor lets air enter from beneath and rise through the interior, which is why quality units sit on legs or a plinth with a clear under-space rather than a flush-to-floor box. Combine that with a perforated back and you have a continuous loop: in at the bottom, out at the back, up past the shoes. A push-to-open or soft-close door keeps the front clean, but the breathing happens at the edges and the back, not the handle.
Shelf Spacing and Slatted Shelves So Air Reaches the Soles
Ventilation fails at the shelf if the tiers are jammed together. Keep at least 15 centimetres between shelves for boots and about 12 centimetres for flat shoes, so the warm, moist air can rise instead of stagnating at the lower level where the heaviest footwear usually sits. Tilt-out or angled shelves do double duty: they show the pair at a glance and they lift the shoe off the back panel so air reaches the heel and sole.
Where you can, ask for slatted shelves rather than solid boards. The gaps let air pass under the shoe instead of pooling beneath it, which is the spot mould loves first. A few centimetres of space behind the back row, between the shoes and the panel, stops the "shoes pressed against a wall of damp" problem that closed-back units create. Open compartments near the bottom for the pairs you wear daily also help, because the most-used shoes are the ones that need to dry fastest.
Pick the Right Depth for Your HDB or Condo Foyer
Size the cabinet to the foyer, not the other way round. A slim flip-down or tilt-out cabinet at 15 to 25 centimetres deep fits the narrowest HDB corridor and still holds 10 to 30 pairs by storing shoes at an angle; 17 to 25 centimetres is the sweet spot that matches the depth of most structural columns so the unit tucks in flush. A standard enclosed cabinet runs 30 to 40 centimetres deep for shoes stored flat and holds 20 to 50 pairs.
For capacity, go tall. A full-height built-in from 180 to 240 centimetres stores 30 to 80-plus pairs and clears the floor, which is why BTO and resale families choose it. Width follows the wall you have: a 3-room foyer of 80 to 100 centimetres takes an 80 to 90 centimetre unit; a 4-room foyer of 100 to 130 centimetres takes 90 to 120 centimetres; a 5-room or executive flat can run to 150 centimetres or pair a cabinet with a bench. Always leave a clear walkway of at least 90 centimetres inside, and 1.2 metres if the piece sits near a common corridor — that 1.2 metre figure is the fire-escape clear width the authorities enforce, not a suggestion.
Materials That Survive Wet Shoes and 80 Per Cent Humidity
The entryway meets moisture every day, from wet soles to umbrella drips, so the board choice decides whether the carcase outlasts the shoes. Use moisture-resistant plywood or a laminate board rated E0 or ENF for formaldehyde, with a smooth, non-porous interior finish you can wipe down. Plain particleboard and MDF swell and warp in this weather and the edges bubble within a year, so they are the wrong core next to a damp foyer.
Edge banding should be continuous PUR or laser tape, not short strips that peel at the corner and let water wick into the core. A bench top, if you add one, wants a laminate or engineered-stone surface that shrugs off footprints and rain drops. Match the finish to the rest of the home — warm oak against a dark main door, light ash against white walls — but treat the material rating as the real spec and the colour as the trim.
The Daily Habits That Finish the Job: Charcoal, Cedar and an Hour of Air
Good carpentry sets the ceiling; habits set the result. Let shoes air out for about an hour after wearing before they go in, especially after rain, because that single step does more than any deodoriser. Drop a bamboo charcoal pack or a cedar block into each section to pull moisture and smell from the air, and refresh the pack in sunlight every month or two so it keeps working. Silica sachets do the same job in a smaller space.
For leather, a cedar shoe tree holds the shape and wicks moisture from the lining at the same time. Wipe soles before storing so you are not sealing in mud and grit, and open the doors for a while on a breezy afternoon to cycle the air. None of this replaces ventilation, but paired with a breathing cabinet it keeps the interior dry enough that mould never gets a start.
Plan a Wet-Shoe Tray and a Bench Without Sealing the Air
Singapore's rainy season makes a wet-shoe plan worth building in. A pull-out tray at the base, lined with a drip tray or an absorbent mat, keeps soaked footwear contained and off the flooring, and if that tray is ventilated it will not become its own mould pocket. Store the truly wet pairs there, not jammed into the closed tiers above.
A bench seat on top, 45 to 50 centimetres high with a cushion, is the daily convenience that sells the design — somewhere to sit, and a landing strip for keys and access cards. You can add a full-length mirror door, hooks for bags, and upper closed storage for off-season shoes without losing breathability, provided the shoe tiers themselves keep their slats, gaps and back vents. The bench and the mirror are the tidy front; the ventilation is the working back.
HDB and Condo Rules Before You Build Against the Wall
A built-in cabinet that backs onto an existing wall and adds no structure needs no HDB permit, which is why most foyer units go in without fuss. The line is crossed the moment you chase a channel into a structural wall, move a beam, or touch the bomb shelter — those need written approval and are usually refused, so keep the unit free-standing against the shelter and anchor it to the concrete elsewhere. The main-door and gate swing must clear the cabinet at full open, and the Distribution Board must stay reachable for a power trip.
If the cabinet sits near a common corridor, SCDF rules hold a 1.2 metre clear escape width at all times, and you cannot block fire hose reels, dry risers, extinguishers or staircase landings. Inside a condo, the Management Corporation adds its own limits: structural walls, beams, columns and slabs are out of bounds, and any work needs the MCST's written go-ahead, a refundable deposit and noise kept to the stated renovation hours. Settle these at the drawing stage so the carpenter builds to the wall you are allowed to use.
A Pre-Build Checklist for a Mould-Free Shoe Cabinet
Walk the foyer with this list and the build goes smoothly. Measure the wall width, the corridor depth and the door swing, and mark the DB box and any pillar. Pick the depth — 17 to 25 centimetres slim for a tight corridor, 30 to 40 centimetres standard, full height for a big family — and keep 90 centimetres of internal walkway or 1.2 metres near a common corridor. Specify real slatted doors with an opening behind them, a perforated back, a 1 to 2 centimetre gap top and bottom, and a 10 to 15 centimetre raised base. Set shelf spacing at 12 centimetres for flats and 15 for boots, with slatted or tilted tiers. Choose E0 or ENF moisture-resistant board with continuous edge banding, a ventilated wet-shoe tray at the base, and a charcoal or cedar pack per section. For a condo, hand the MCST rules to the carpenter before the first panel is cut. Get these right and the cabinet stays dry through every rainy month instead of becoming the thing you regret by Chinese New Year.