
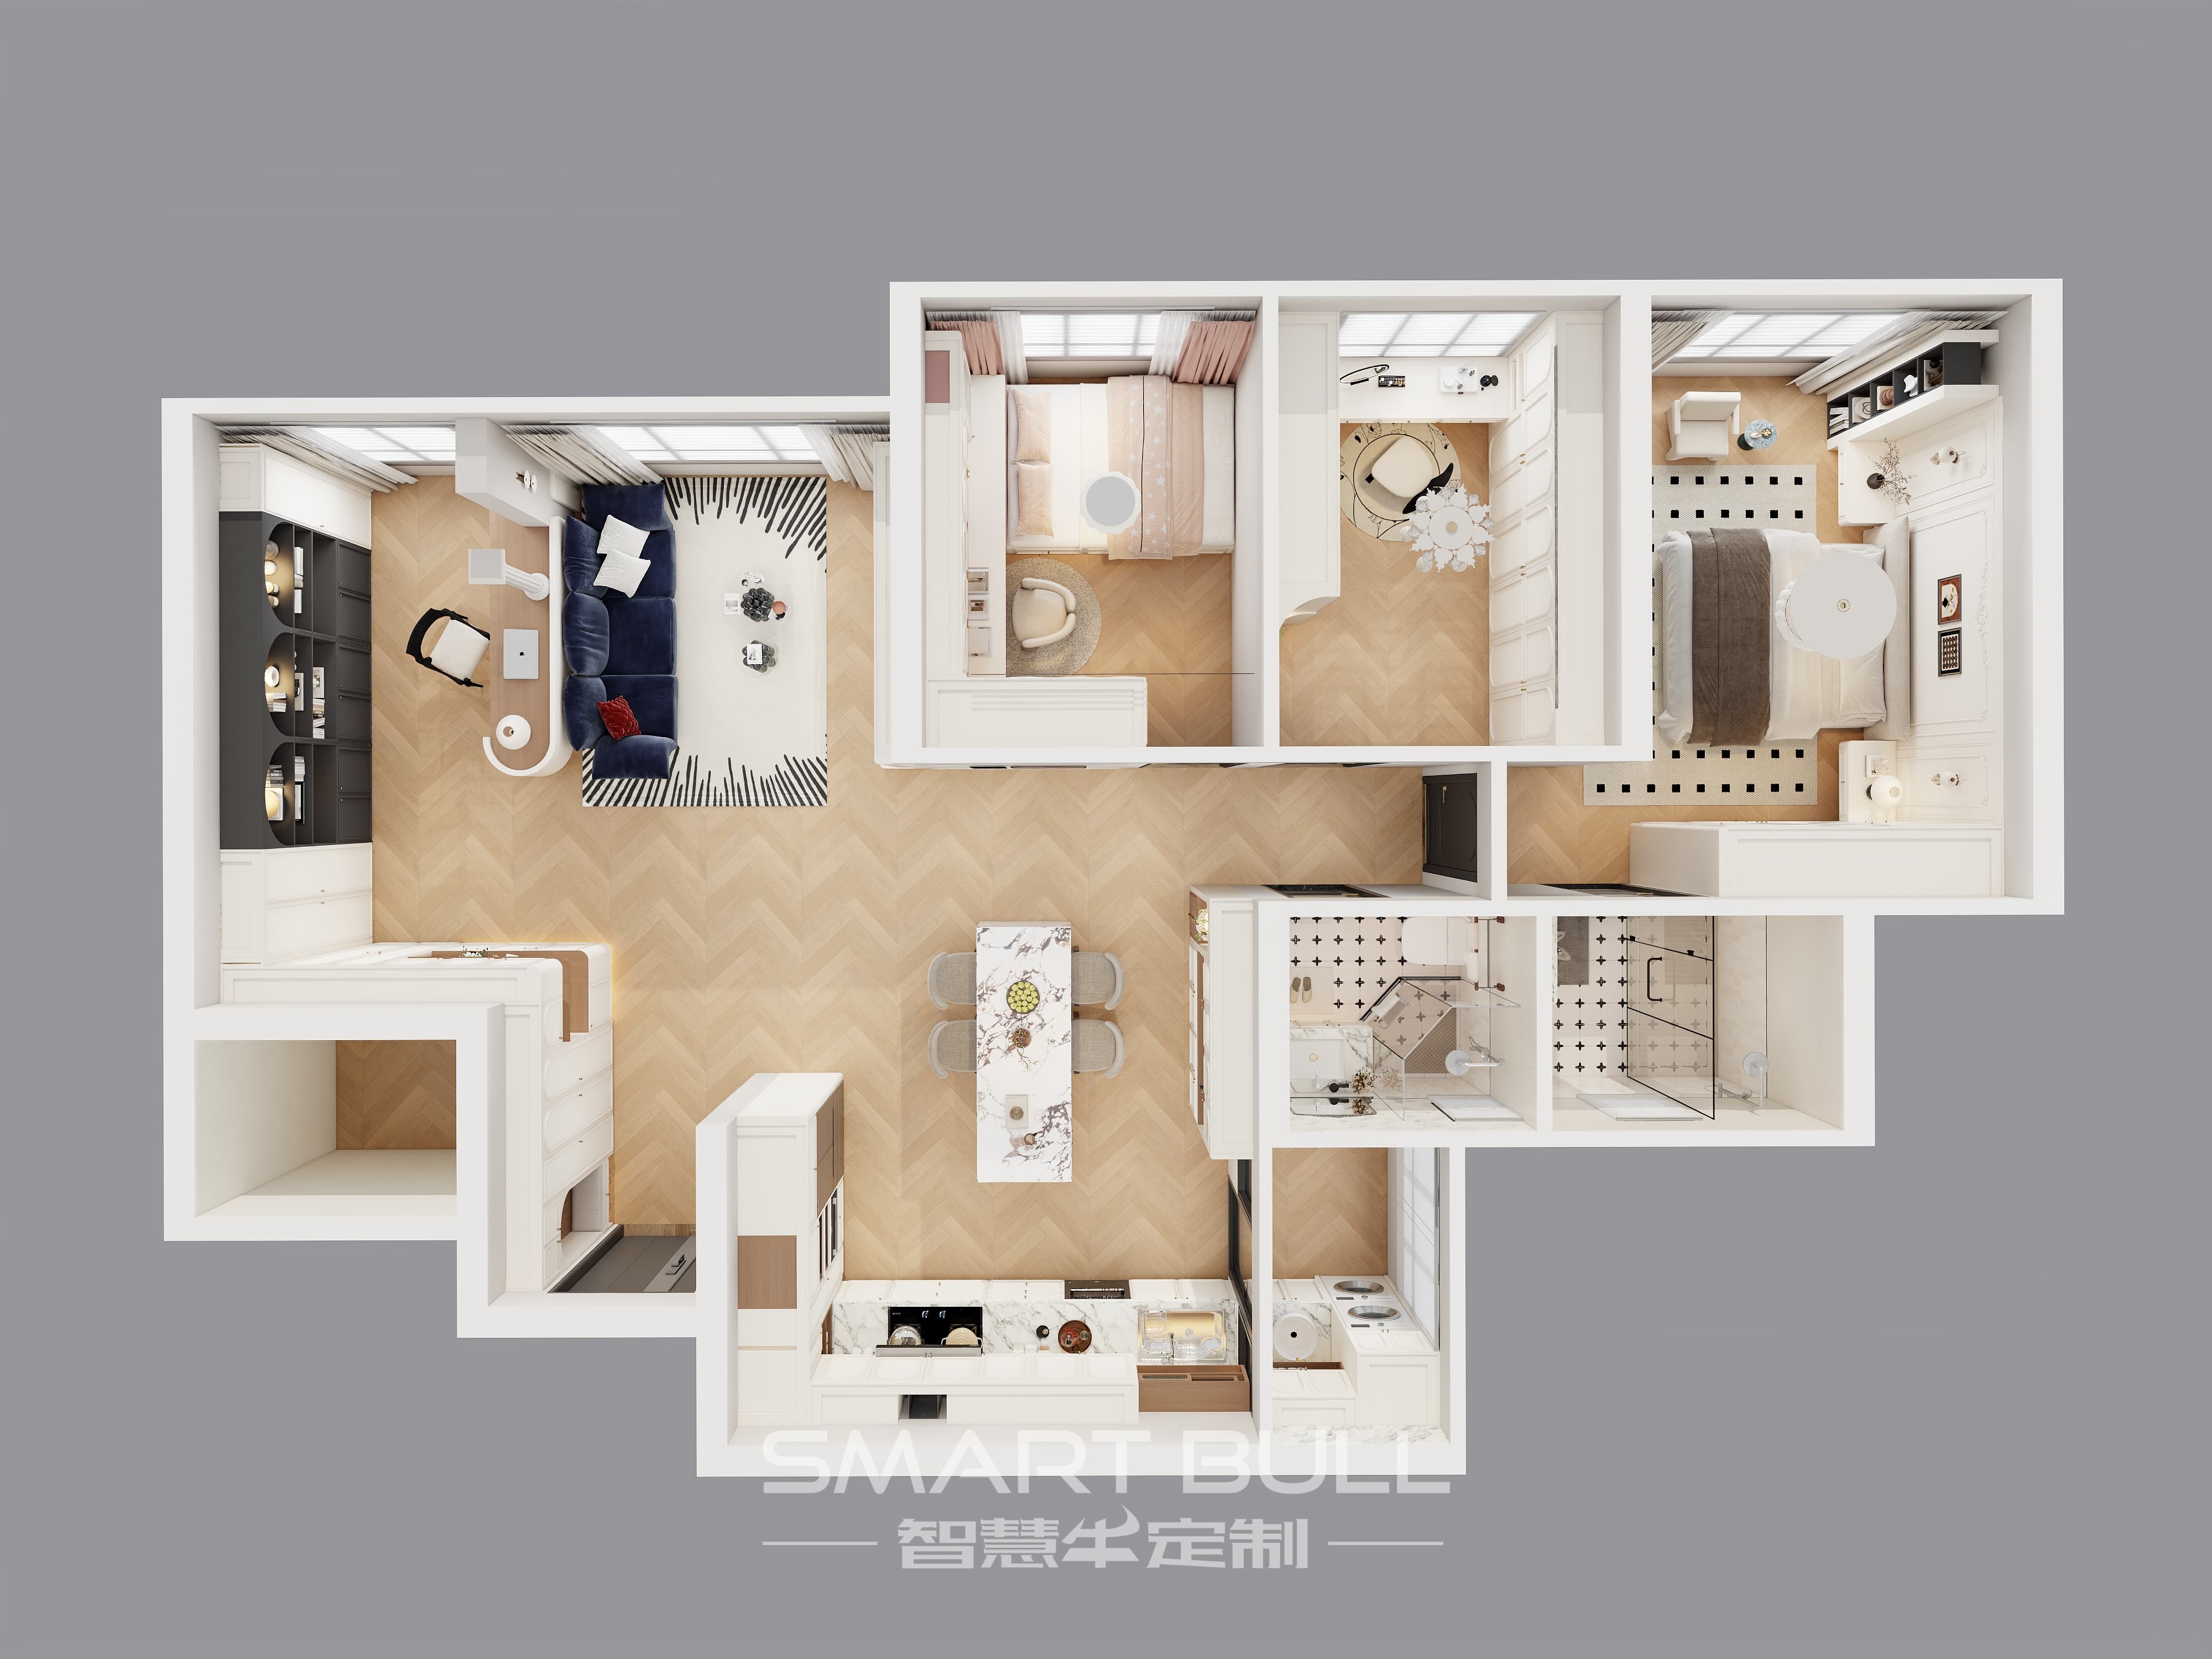
Congratulations! You've finally collected the keys to your new BTO flat – a significant milestone on your homeownership journey in Singapore. That initial sense of accomplishment is swiftly replaced by the pressure to transform your empty shell into a warm, functional home. The prospect, particularly the coordination of your renovation timeline, often looms large. Planning effectively isn't just about dreams; it's about navigating technicalities, scheduling constraints, and turning aspirations into reality. This guide will break down the essential steps to crafting a realistic and efficient renovation plan after BTO key collection, ensuring you move into your dream home smoothly.
Crafting Your Post-BTO Key Collection Action Plan
Getting your keys is phase one. Kicking off the renovation is phase two, and it demands organization. Here’s a strategic approach:
Step 1: Confirm Permit Requirements & Restrictions (Week 1): Before any work begins, understanding Housing & Development Board (HDB) guidelines is paramount. Rules govern permissible alterations to structural walls, plumbing, wiring, and floor finishes. Additionally, acknowledge the legal timeline: renovation must commence within one month of key collection and must be completed within six months. Failing this leads to consequences. Consult the HDB website or reach out directly to clarify specific restrictions for your block or flat type.
Step 2: Finalise Design & Specifications (Weeks 2-3): Ideally, you've collaborated with a design team during the waiting period. Now is the time for final decisions. Settle comprehensive layouts, material specifications (tiles, laminates, countertops), built-in furniture designs (wardrobes, kitchen cabinets), electrical outlet placements, lighting schemes, plumbing fixtures like basins and taps, and paint colours. Ensure everything is documented in detailed elevation drawings (2D) and ideally 3D renderings for clarity. This is the blueprint that contractors will quote and build against. Any delays or indecision now cascade through the entire project.
Step 3: Engage Key Contractors & Finalise Quotes (Weeks 3-5): Avoid the temptation to rush into signing a full-time contract. Seek multiple, detailed itemised quotes based on the final designs. Your primary partners are likely the interior designer (ID)/contractor handling carpentry, tiling, ceiling work, painting, and general coordination, along with specialist licensed tradespeople:
- Licensed Electrical Worker (LEW): Mandatory for all electrical works exceeding simple additions like socket points. They apply directly for the Electrical Permit.
- Licensed Plumber (P1/P2): Required for alterations to sanitary fittings, waste disposal works, connections to public sewer mains, or installing new sanitary appliances. They will secure the Plumbing Permit.
Obtain copies of their licenses (REW/P1/P2), copies of their quoted insurance, and detailed schedules defining material brands and quantities. Reviews on RenoTalk or Singapore Renovation Contractor Reviews forums can offer insights. Allow a week or two for several contractors to walk your flat with the drawings and provide quotes.
Step 4: Secure Permits & Schedule Work Sequence (Weeks 4-5): Once your main ID/Contractor and specialists are selected, permit applications commence. Your LEW handles the Electrical Permit submission, your Plumber the Plumbing Permit. Your main renovator often manages the main Renovation Permit. HDB provides specific windows for noise-generating activities like demolition, hacking, and installation of floor finishes like tiles or screeding: typically weekdays, 9 AM to 5 PM. Payment of permit fees is required. Work cannot begin without permits on-site. Schedule logically: major destructive work (hacking, structural fixes) usually precedes 'clean work' (plumbing, wiring, carpentry, painting).
Step 5: Project Execution & Coordination (Weeks 6 onwards): This is where meticulous planning meets reality. Your ID/Contractor is crucial for managing this sequence and coordinating delivery of appliances and selected furniture (like your customisable whole-house units) to align with installation stages. Regular site walk-throughs are vital for identifying deviations and authorising variations swiftly. Maintain detailed records of all decisions, payments, and variations, citing specific design sheets. Anticipate challenges – Singapore’s humid climate can impact drying times for screeds or paints. Factor this into the plan.
Step 6: Final Inspection, Handover & Touch-ups (Post-Completion): Towards the project end, conduct a meticulous walk-through with your renovator. Identify any defects, workmanship issues, or deviations from the agreed specifications using the final drawings as a reference. Document everything. Once rectified, receive formal handover. Additionally, note down any minor adjustments desired after living in the space for 1-2 weeks.
Prioritising Space Planning in Singapore's Compact Homes
With BTO flat sizes evolving and space frequently cited as the top priority, whole-house spatial design is not optional; it’s fundamental. Viewing your home environment holistically ensures seamless transitions between rooms and maximises every centimetre effectively.
Holistic Assessment: Approach your floor plan comprehensively. Analyse how movement and function flows between the living hub, meal preparation zones, rest areas like bedrooms, and functional spaces like study areas or utility corners. Where do paths naturally intersect? Where can zones be combined without compromising comfort?
Embracing Multifunctional Solutions: Given typical layouts, particularly in newer HDBs or condos, customisable fitted furniture frequently provides efficiency. The term 'whole-house' unit highlights solutions designed cohesively across each room:
- Living Areas: Integrated entertainment consoles with concealed storage, feature walls incorporating display and hidden functionality.
- Food Preparation Zones: Customisable units like kitchen cabinets maximise irregular configurations, integrate appliances like fridges or ovens, extend counters over service yards, and include clever solutions like appliance hubs or tray trolleys.
- Personal Quarters: Built-in wardrobes that rise to ceiling heights, incorporate dressing areas for bedroom organisation, and utilise corners or recesses. Consider walk-in wardrobe options if space allows, maximising usable storage area efficiently.